Laser Cutting Computationally Generated Forms
For this assignment in my Computational Fabrication course, I created a few designs using Processing, a simple IDE and library for learning to code that is quite useful for quickly drawing up some computational designs using the built-in functions. For 2 of my designs, I simply started with some simple shapes and parameters to edit them before passing them through loops to generate geometric forms with interesting variation. The third design I manually put together with inspiration from album art by one of my favorite artists. I then worked in Rhino to prepare 2 of the designs for engraving and cutting in a laser cutter. Special thanks to Quinn Pearson from the BTU Lab at CU Boulder for setting me up and walking me through the process of working with the laser cutters in the BTU Lab.
Materials
For materials, I ended up using some 0.2 inch thick pine wood sheets that I found at Michaels. This was a good thickness for the laser cutter and allowed some deeper engravings in the designs. The sheets’ dimensions were 5.2 x 12 inches. For the assignment, the 2 selected designs needed to be cut or engraved in at least 5 x 5 inches of material.
Computational Designs and Results
Cross-Section Sphere
To preface my choice of designs, I will say that I enjoy the aesthetics of wireframes. This preference of mine is likely due to being able to see through the objects and thus see more of their overall form. While this first design is not necessarily a wireframe, I constructed it while only drawing the edges, so it had the same aesthetics. In the end, I decided to remove the edges and fill the ellipses in the design with a red gradient.
For this design and the next, I was focusing on constructing 3D-looking objects with only 2D shapes from the Processing library. I attempted to create a tilted sphere with a series of ellipses, producing a cross-section effect. Using polar coordinates, I looped from 180 degrees, representing the left side of the unit circle, to 0 degrees, representing the right side of the unit circle. Along the way, the Cartesian x and y coordinates are retrieved to used for the position and height of the ellipses, respectively. The resulting output can be seen below.
Processing Output
Code
Fish-Eye Wireframe Cubes
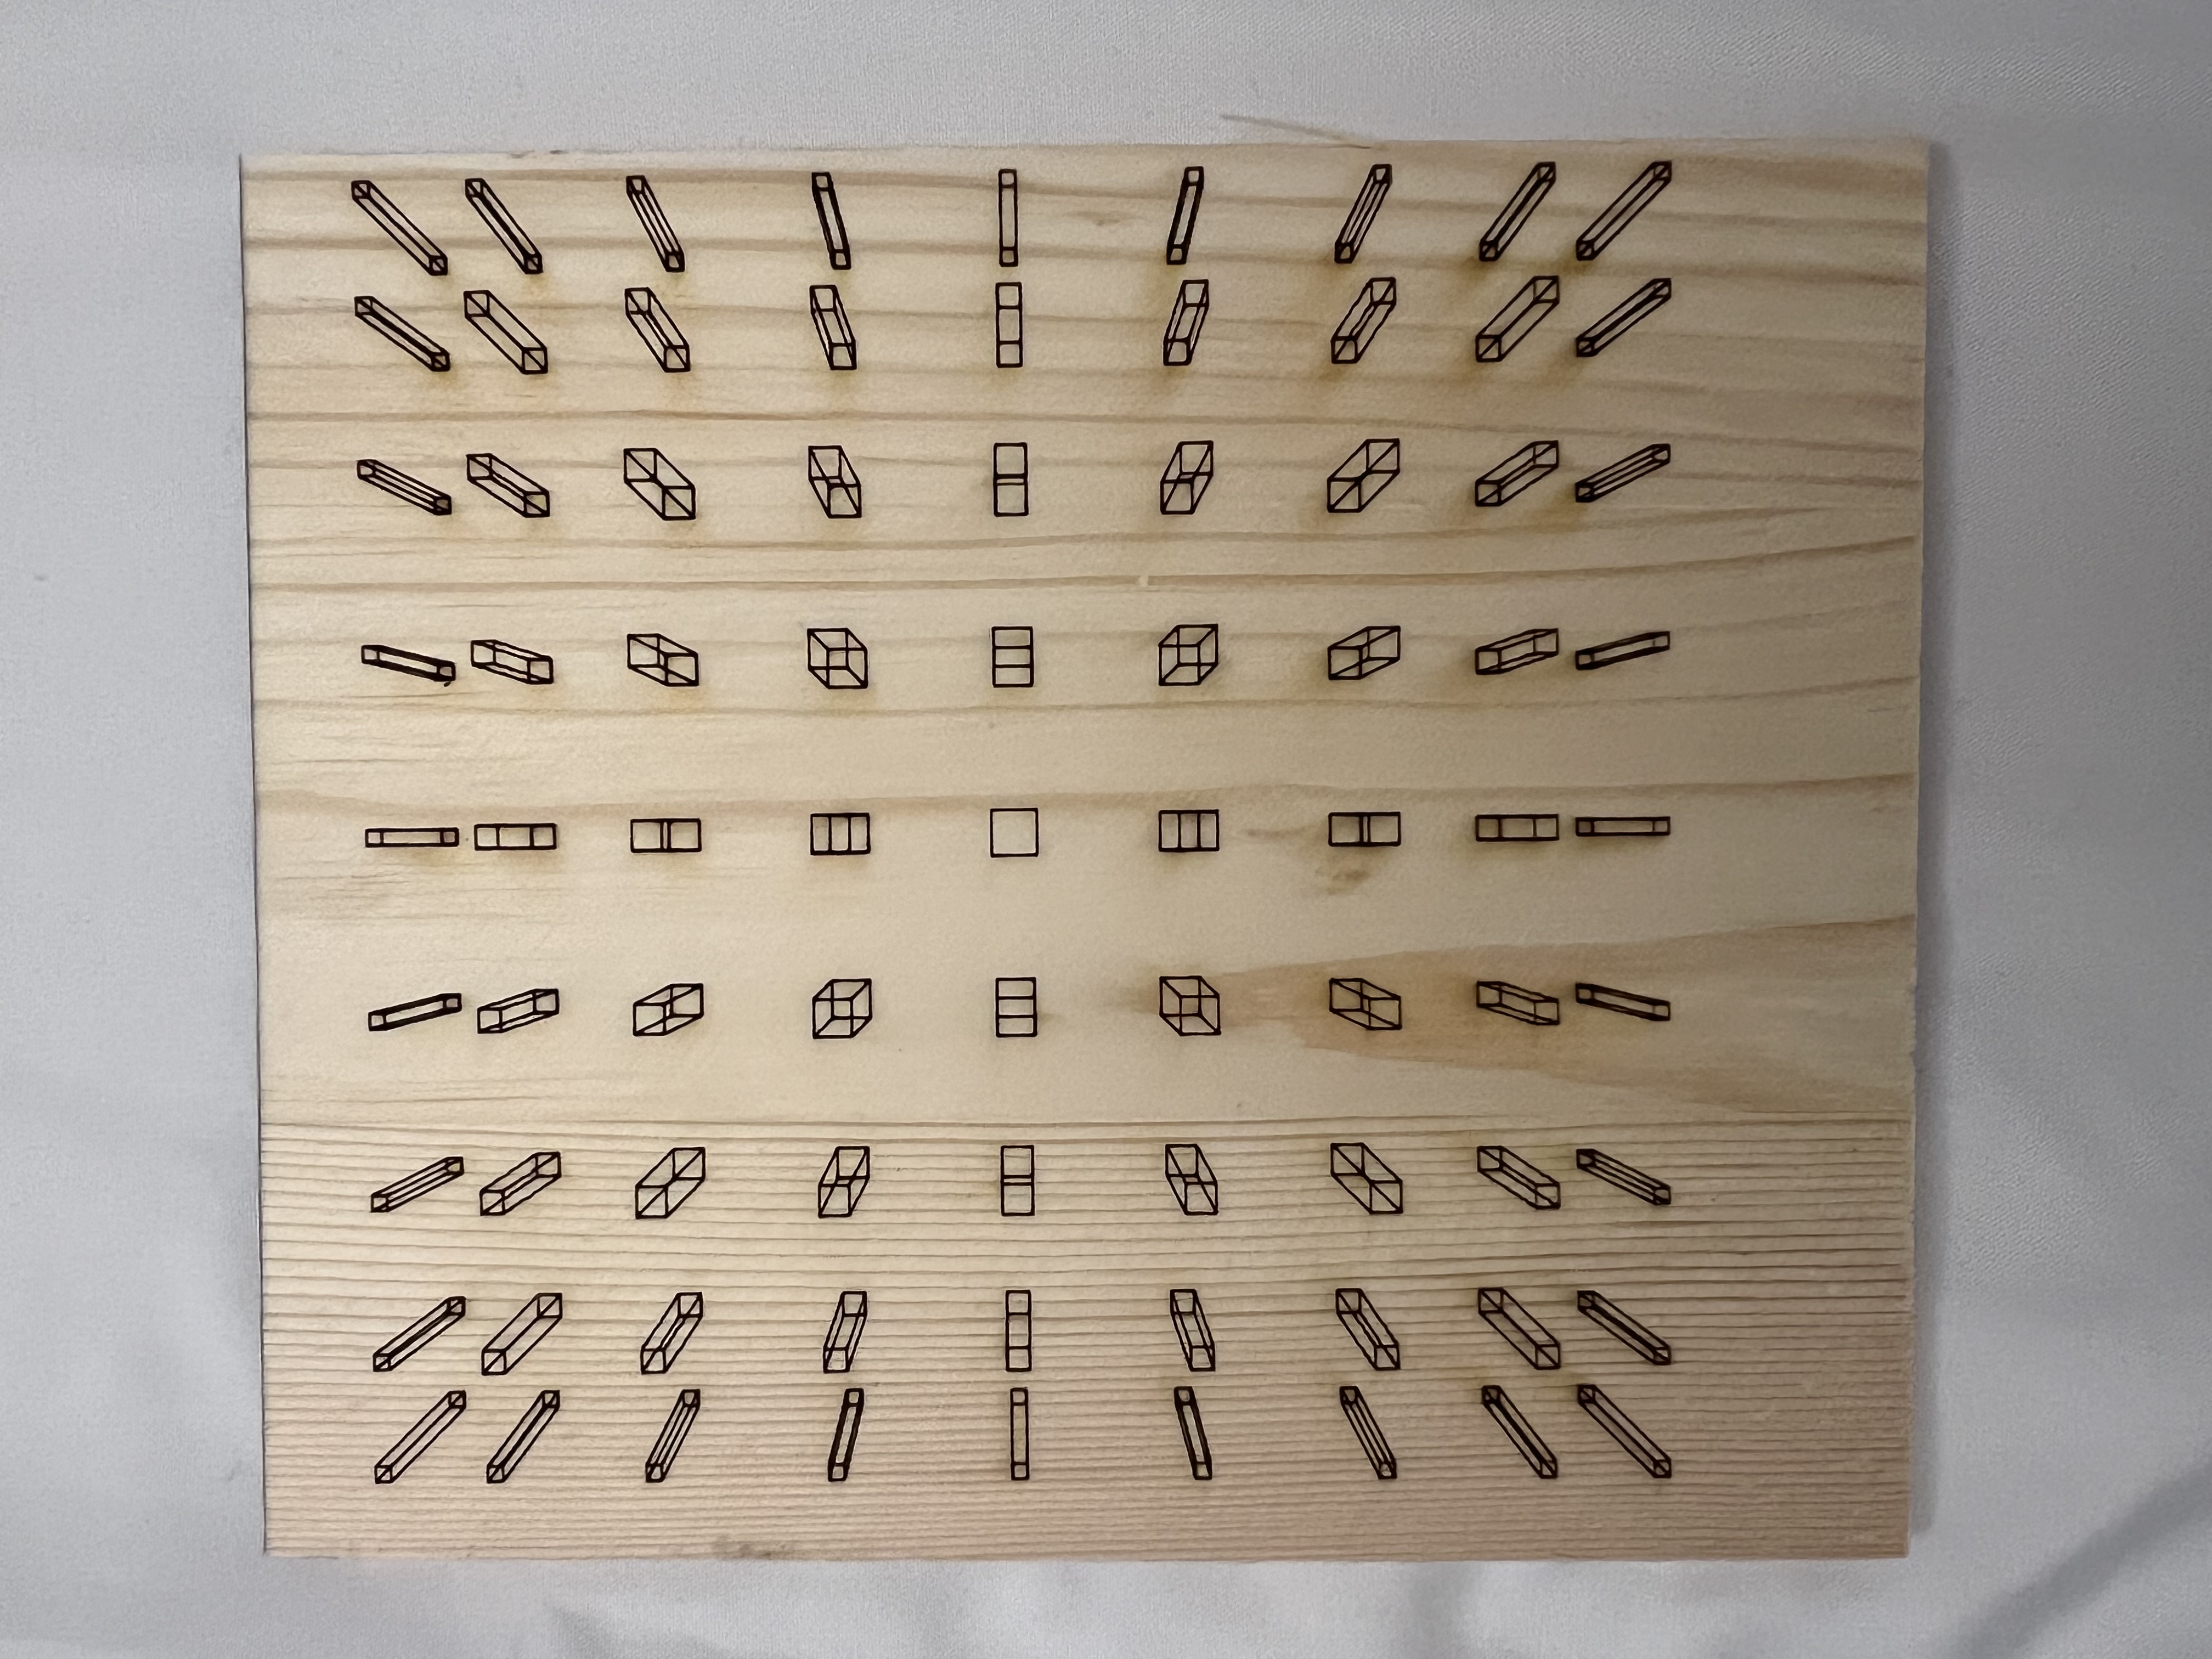
This design was the result of much trial and error. I did a lot of experimenting, tweaking parameters and shifting squares and lines around until I settled on rendering angled cubes in a grid. To give an appearance of the grid bursting out towards the screen, I angled the cubes farther away from the center proportional to their position relative to the center. This sort of created a fish-eye lens effect, with objects on the edge of the screen stretching out more.
Processing Output
Laser-Engraving Result

Code
Crescent Moon
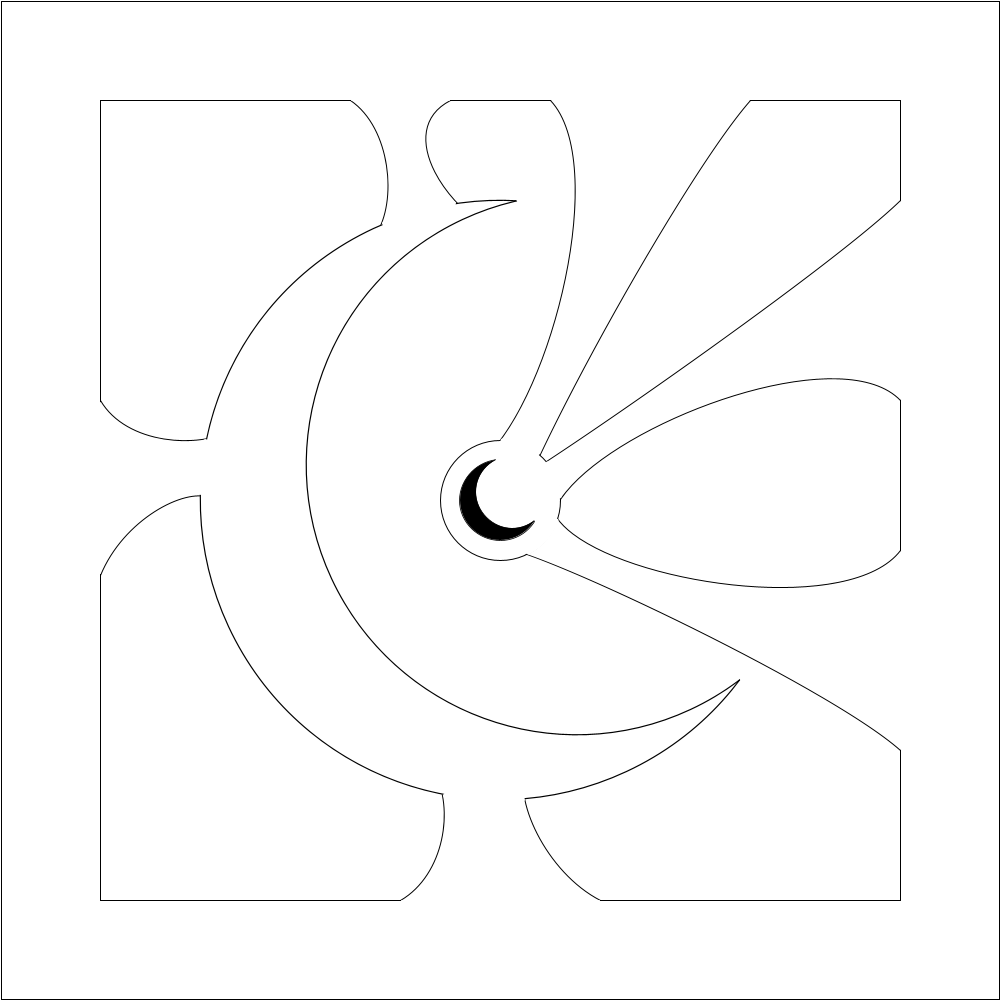
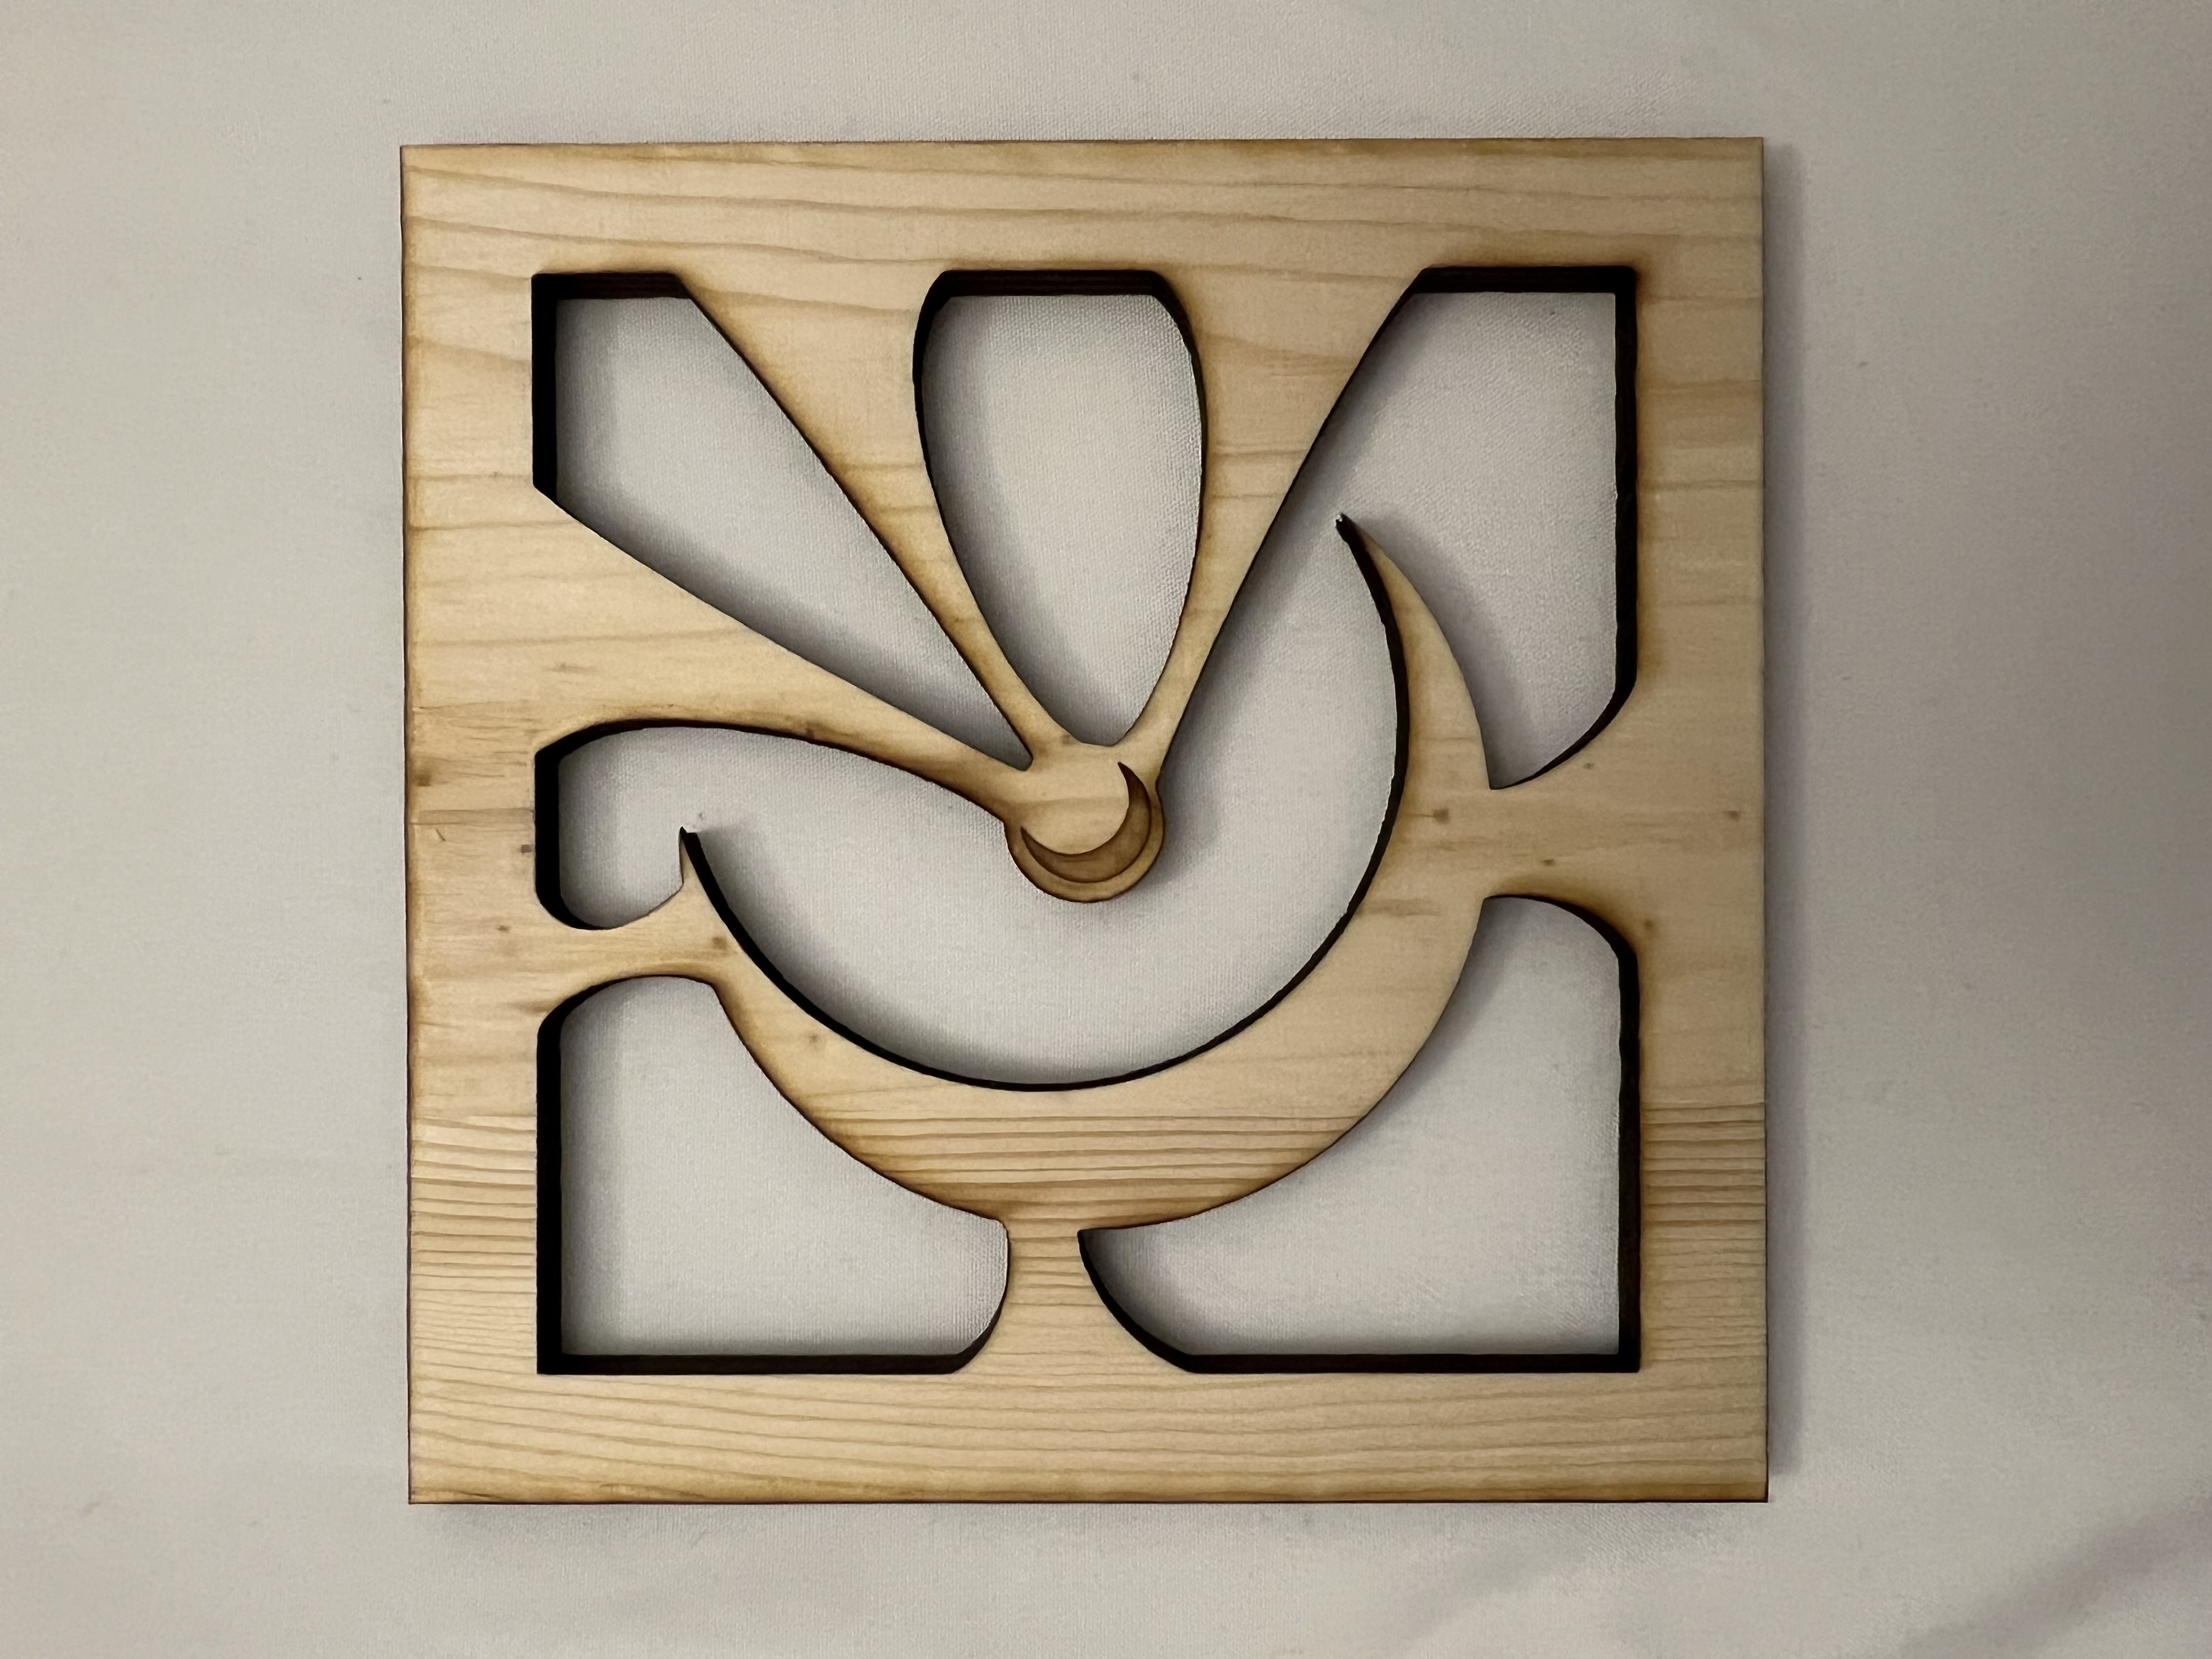
The framing of this design is based on the artwork by Alex Pryle for the album cover of Sweet Nothings by Plini. Since I liked this piece so much, I initially attempted to recreate each element with mathematical functions and basic shapes, but I was quickly overwhelmed with the minute details of the rocket ship. I kept the crescent moon and black hole in the center and added sinewy connections to the border of the design to produce a dissonance between the astrophysical centerpiece and biological backdrop. The connections are created using spline curves, and then I programmed some arcs with a white stroke to overwrite the connecting portions of the curves of the crescent and the center circle. This ensured that the laser cutter would not cut off sections that were needed.
Inspiration

Processing Output

Laser-Cutting Result

Code
Conclusion (and Problems Faced)
I learned a ton about laser cutting by using these simple designs. With proper standards and procedures set in place, it is actually quite simple to get a cut done. However, other issues can present themselves. For example, after importing my SVG files to Rhino, I realized they were broken beyond repair. The reason was that any fill color used in Processing was primed for raster engraving. This means that when there is an area that needs to be operated on, the laser cutter will go pixel by pixel in that area to ablate material as opposed to using a vector method to move between points. I did not realize any color, including white, would be treated this way while working, so extensive work needed to be done to edit the outputs to appear the same in Rhino as they did in Processing. My tip would be to try to make designs with noFill() enabled so that only lines are drawn, and only enable fill(0) when a particular engraving needs to be done. If you don’t do this, then your SVGs and PDFs will have a plethora of invisible shapes that will show up in Rhino and break your design.


